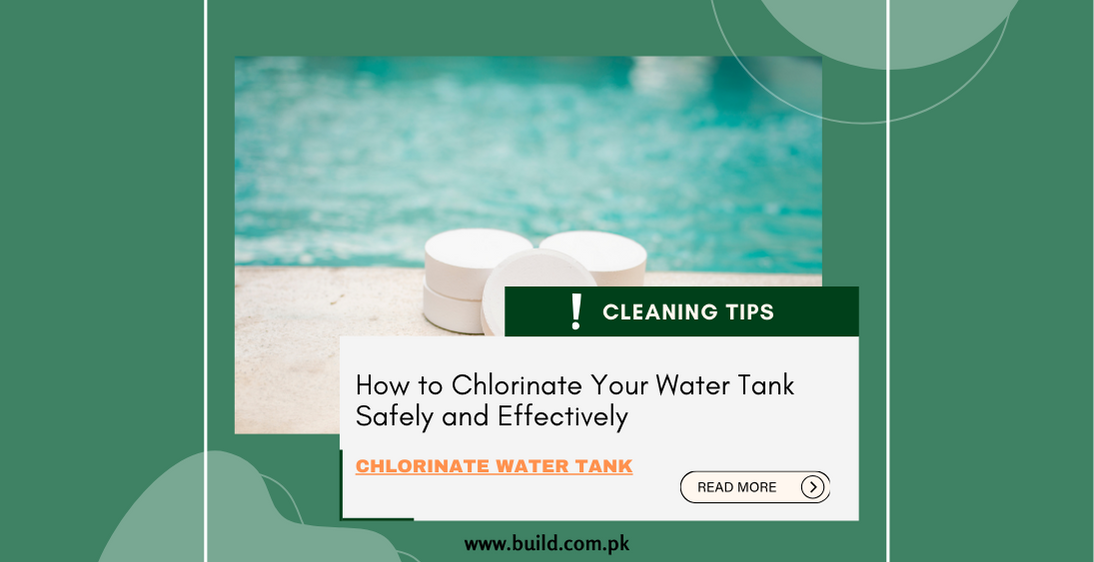
How to Chlorinate Your Water Tank Safely and Effectively

Introduction:
Ensuring the cleanliness and safety of your
water supply is essential for maintaining good halth and preventing waterborne
illnesses. Chlorinating your water tank is a simple yet effective method for
disinfecting the water and eliminating harmful bacteria, viruses, and other
contaminants. In this comprehensive guide, we'll walk you through the
step-by-step process of chlorinating your water tank, covering everything you
need to know to ensure the safety and effectiveness of the chlorination process.
Understanding the Importance of Chlorinating Your Water Tank
Before we delve into the details of how to chlorinate your water tank, let's first understand hy chlorination is necessary and its benefits:
Kills Harmful Pathogens:
Chlorine is a powerful disinfectant
that effectively kills bacteria, viruses, and other microorganisms that may be
present in the water, including E. coli, Salmonella, and Giardia.
Prevents Waterborne Diseases:
Chlorinating your water tank
helps prevent the spread of waterborne diseases and illnesses caused by
contaminated water, such as cholera, typhoid fever, and gastroenteritis.
Ensures Safe Drinking Water:
By eliminating harmful
pathogens, chlorination helps ensure that the water in your tank is safe for
drinking, cooking, bathing, and other household uses.
Preparing for Chlorination
Before you begin the chlorination
process, it's essential to gather the necessary materials and prepare your
water tank:
Chlorine Solution: Purchase a suitable chlorine solution for
water disinfection, such ashousehold bleach or chlorine tablets specifically
designed for water treatment.
Safety Gear: Wear appropriate safety gear, including gloves
and protective eyewear, to prevent skin and eye irritation when handling
chlorine.
Cleaning Supplies: Clean the water tank thoroughly to remove
any debris, sediment, or organic matter that may interfere with the
chlorination process.
Water Testing Kit: Optionally, you may use a water testing
kit to measure the chlorine concentration in the water and ensure that it
reaches the desired level for disinfection.
Chlorination Procedure
Follow these step-by-step
instructions to chlorinate your water tank effectively:
Step 1:
Calculate the Volume of Water: Determine the volume
of water in your tank to calculate the amount of chlorine solution needed for
chlorination. You can estimate the volume based on the dimensions of the tank
or consult a professional for accurate measurements.
Step 2:
Prepare the Chlorine Solution: Dilute the chlorine
solution according to the manufacturer's instructions to achieve the desired
concentration for disinfection. Typically, household bleach is diluted to a
concentration of 50-200 parts per million (ppm) for water treatment.
Step 3:
Add the Chlorine Solution: Pour the diluted chlorine
solution into the water tank, ensuring thorough mixing to distribute the
chlorine evenly throughout the water. Use a long-handled paddle or mixing
device to agitate the water and facilitate the mixing process.
Step 4:
Circulate the Water: Turn on the water pump or agitator to circulate the chlorinated water throughout the tank, ensuring that all areas are exposed to the chlorine solution for effective disinfection. Continue circulating the water for at least 30 minutes to one hour.
Step 5:
Allow Contact Time: Allow sufficient contact time for
the chlorine to disinfect the water. he contact time depends on the chlorine
concentration and the level of contamination in the water. A minimum contact
time of 30 minutes is recommended for effective disinfection.
Step 6:
Test the Chlorine Residual: After the contact time
has elapsed, use a water testing kit to measure the chlorine residual in the
water. The chlorine residual should ideally be 0.5-1.0 ppm to ensure adequate
disinfection. Adjust the chlorine dosage if necessary to achieve the desired
residual level.
Step 7:
Flush and Rinse: Once the desired chlorine residual
is achieved, flush the chlorinated water from the tank by draining it through
the outlet or drain valve. Rinse the tank thoroughly with clean water to remove
any residual chlorine and prevent taste or odor issues in the water.
Step 8:
Refill the Tank: Refill the water tank with clean,
fresh water from a reliable source, such as a municipal water supply or a
properly treated well. Ensure that the tank is fully filled to the appropriate
level to maintain adequate water pressure and supply.
Safety Precautions and Considerations
When chlorinating your
water tank, it's important to observe the following safety precautions and
considerations:
Handle Chlorine with Care:
Chlorine is a strong chemical that
can cause skin and eye irritation, respiratory issues, and other healt hazards
if mishandled. Wear appropriate safety gear and follow the manufacturer's
instructions for safe handling and use of chlorine.
Ventilate the Area:
When working with chlorine, ensure
adequate ventilation in the area to prevent the buildup of chlorine fumes and
minimize exposure to harmful gases.
Avoid Overchlorination:
Avoid adding excessive amounts of
chlorine to the water, as this can lead to overdosing and potential health
risks. Follow the recommended dosage and concentration guidelines provided by
the manufacturer for safe and effective chlorination.
Test the Water:
After chlorination, test the water to ensure
that it meets the required quality standards for drinking and household use.
Use a water testing kit to measure parameters such as chlorine residual, pH
level, and turbidity to verify the effectiveness of the chlorination process.
Monitor Regularly:
Regularly monitor the water quality and
chlorine residual in your tank to ensure ongoing disinfection and safety.
Perform routine maintenance checks and periodic chlorination as needed to
maintain clean and safe water supply.
Conclusion:
Chlorinating your water tank is a simple yet crucial step in ensuring the cleanliness and safety of your water supply. By following the step-by-step procedures outlined in this guide and observing safety precautions, you can effectively disinfect your water tank and protect against waterborne diseases and contaminants. Remember to calculate the volume of water, prepare the chlorine solution, circulate the water, allow sufficient contact time, test he chlorine residual, and flush and refill the tank to complete the chlorination process successfully. With proper maintenance and monitoring, you can enjoy clean, safe, and reliable water for drinking, cooking, bathing, and other household uses.


